If you want to use your computer in sleep mode, you should disable some of your programs. If you do this, your computer will be put into sleep mode. Disabled programs will still start slightly slowly, but they will not hamper your computer’s performance when your computer is not in use. This is one of the simplest ways to increase the speed of your computer. Here are some other ways to maximize the speed of your computer:
Configure power and sleep settings
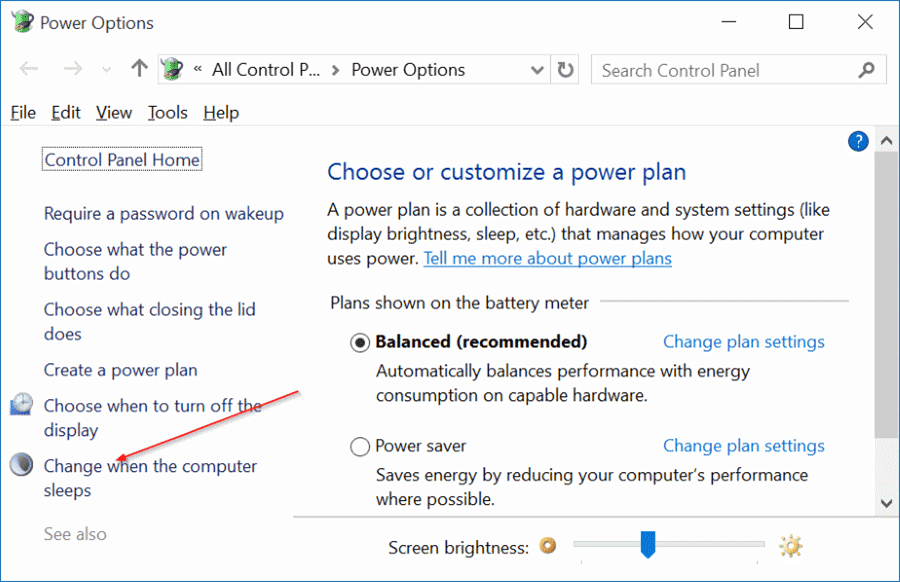
You can configure the power and sleep settings to keep programs running in the sleep mode of Windows 10. This will help you save battery life and save your monitor from burn-in. If you do not configure power and sleep settings, your computer will remain on, and may experience general instability, reduced performance, frequent kernel hangs, and crashes. You can also try disabling hibernation in the Power & sleep settings. Hibernation is necessary for laptops that run out of battery power.
To change the default power plan, select the “Advanced” option. It will show you a menu of power and sleep settings. On the next page, select Power Plan. In this window, click Change Power Plan. In this window, choose “Manage power settings” from the list. Next, click Change power plan. After that, you will be prompted to confirm your changes.
Check if your PC can go into sleep mode
If your computer won’t go into sleep mode, you may want to look into the BIOS settings to find out how to enable it. Many desktop computers support sleep mode and will automatically store open files and programs in memory. This will prevent your computer from running out of battery life if you need to leave your PC on while not using it. There are also third-party applications available that can help you change your sleep mode settings.
There are a number of factors that can prevent your PC from going into sleep mode. These can include the hardware you have installed, power options, and installed programs. If you’ve shared a computer with someone else, they may have tweaked their power settings. If your PC was a shared computer, you might have inherited this issue or a problem with your drivers. In any case, a simple system scan should reveal the problem.
Disable sleep mode
If you want to keep running your programs while your computer is in sleep mode, you can easily disable this feature. There are several ways to do this. First, make sure that you have updated the device drivers on your PC. Another way is to use a registry cleaner to fix system registry errors. This method will work for both Windows 7 and Windows 10.
Another way to fix this issue is to try to find the cause. If you think that it is an external program, you may need to open the command prompt in administrator mode and run the msconfig command. Then, you can check for any problems with the sleep feature. Once you identify the problem, you can use the keyboard to wake up your computer and then continue your work. This method is ideal when your computer is running slowly or you are using a laptop for long periods of time.
Check hibernation settings
If you’re experiencing problems with hibernation, you might be wondering how to fix this. There are a few ways to fix this problem, but the first is to check the hibernation settings on your PC. This will prevent your computer from going into sleep mode, which will save power and make the device more energy-efficient. To check your hibernation settings, open the registry editor. To open it, press the Windows Key + S key. Double-click the HKEY_LOCAL_MACHINE key and click the arrow to the left. Double-click the SYSTEM key and expand it. Then, click Control/Power on the right side. Double-click HibernateEnabled and follow the directions on the screen.
You can also access the hibernation settings on your PC by pressing the power button on your system and closing the lid. If you’re unable to use the power button, you can also access this setting from the power menu. If it doesn’t appear there, you can also go to the shutdown or restart menu and select Hibernate from the list. Once you’ve made the changes, click Apply.
Set apps that can run in the background
Putting too many background applications on your PC can cause it to slow down. There’s a simple way to disable this feature and put specific apps to sleep. To do this, launch the Settings application by pressing the Windows Key + I. Go to Privacy > App Permissions and find ‘Background apps’. Uncheck the boxes to turn off background apps. If you’re still concerned about running too many background apps, turn off the feature completely.
While using the Windows 10 system, it is possible to set specific apps to run in the background. Go to the Settings menu and select the Privacy option. Scroll through the options until you find the section labeled “Background Apps.” From there, you can either disable all background apps or individual ones. It’s up to you which one you want to disable. You’ll find instructions below.