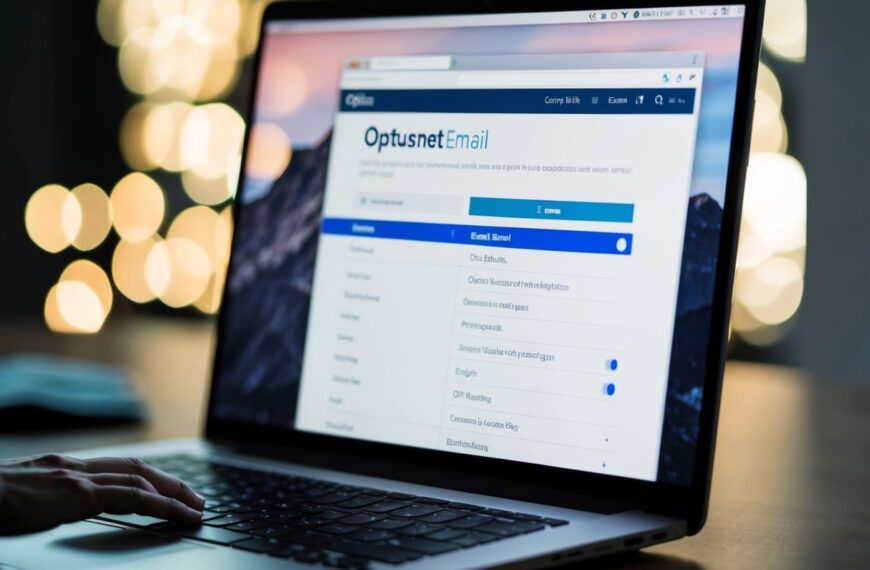
When you want to configure your Fuse.net email account, you need to understand the right settings. Fuse.net provides important incoming and outgoing server settings that you need for your email client.
For the incoming server, use POP or IMAP with the host pop.fuse.net or imap.fuse.net, respectively. For the outgoing server, use SMTP with smtp.fuse.net. These settings ensure that you can send and receive emails smoothly on your devices.

Using these server settings in your email client allows for compatibility with applications like Outlook, Thunderbird, and mobile devices. This flexibility ensures you can access your emails where you prefer, be it on your desktop or smartphone.
Knowing the correct server setup makes the process seamless and avoids common issues that might arise when setting up email clients.
Fuse.net not only provides basic email configurations but also advanced features to enhance your emailing experience. While setting up your email, it’s worth exploring these features to see what suits your needs best.
Whether it’s for personal use or managing your work communications, ensuring your email is set up correctly is the first step towards effective email management.
Key Takeaways
- Use POP or IMAP for the incoming server and SMTP for the outgoing server.
- Configure email clients like Outlook or your mobile device with these settings.
- Explore advanced email features offered by Fuse.net for a better experience.
Overview of Fuse.net Email
Fuse.net provides email services that require proper configuration to ensure security and functionality. Secure settings are essential to protect your information and guarantee smooth communication with others.
Importance of Secure Email Configuration
Secure email configuration is key to preventing unauthorized access. When setting up your Fuse.net email, use SSL or TLS for encrypted transmission of your data.
Authentication is also crucial. Use your email address as your username during setup. This ensures that your identity is validated before access is granted.
For incoming mail, configure the server settings to POP3 or IMAP. Use specific server addresses like pop.fuse.net or imap.fuse.net. For outgoing mail, make sure to use smtp.fuse.net to handle your emails securely.
Understanding Altafiber Email and Fusemail
Altafiber provides services associated with Fuse.net, which may include Fusemail – another email service option. Similar to other providers, Fusemail ensures compatibility across different devices.
To configure Fusemail, you need to set up the right server settings. Use IMAP for incoming mail, with the server imap.fusemail.net, which allows syncing across devices. For outgoing emails, configure the SMTP server using smtp.fusemail.net.
Using the correct ports is essential. For SSL, port 465 is needed. If you prefer TLS, use port 587. Secure channels protect your information, ensuring your emails are safe during transit.
Setting Up Your Fuse.net Email Account
Setting up your Fuse.net email involves creating a new email address and managing your email password. These steps ensure a smooth start and secure access to your email account.
Creating a New Email Address
To create a new Fuse.net email address, begin by visiting the Fuse.net email setup page. Click on the option to register a new account.
You’ll need to provide basic information such as your name and desired email address. Make sure to choose a unique email address that feels personal and serves your needs.
Next, set up your account with the correct incoming and outgoing server settings. For incoming mail, use pop.fuse.net or imap.fuse.net, depending on your preference. For outgoing mail, use smtp.fuse.net. Ensure these settings are correctly entered in your email client, whether it is Outlook, Mac Mail, or another application.
Finally, confirm your registration by checking any verification emails sent to your contact email. This final step completes the account creation process.
Managing Your Email Password
Managing your email password is crucial for maintaining account security. If you’re setting up your Fuse.net email for the first time, create a strong, unique password. It’s a good practice to include a mix of letters, numbers, and special characters.
In case you forget your password, Fuse.net offers a ‘Forgot Password’ option. Clicking this will guide you through the process of resetting your password. You might need to answer security questions or provide an alternate email for verification.
Regular updates and password changes enhance security. Make a habit of updating your password every few months. Always ensure your password is kept private and avoid sharing it with others.
Email Client Configuration
Setting up your Fuse.net email in different clients requires specific settings. You’ll need information on server types, authentication protocols, and security features to ensure seamless email communication.
General Mail Client Settings
When setting up a Fuse.net email account in any mail client, input the appropriate IMAP or POP3 settings. Choose between IMAP, which syncs messages across devices, and POP3, which downloads emails to a single device and removes them from the server.
Server Settings:
- IMAP: mail.fuse.net
- POP3: mail.fuse.net
- SMTP: smtp.fuse.net
Ensure to enter your email address as the username and your email password for authentication. Properly configure SMTP settings for outgoing mail with SSL or TLS security to keep your communications secure.
Configuring iPhone Mail App
For the iPhone Mail app, go to Settings > Passwords & Accounts. Tap “Add Account,” choose “Other,” and then “Add Mail Account.”
Enter your name, email, username, and password. For server settings, enter IMAP or POP3 details. IMAP is often preferred for multiple devices.
Use these server details:
- Incoming (IMAP):
- Host: mail.fuse.net
- Port: 993 (IMAP with SSL)
- Outgoing (SMTP):
- Host: smtp.fuse.net
- Port: 587 (TLS/STARTTLS enabled)
Ensure authentication by using your email and password for both incoming and outgoing servers.
Authentication and Security Protocols
Authentication and security are vital for email setup. Configure SSL or TLS to encrypt data and protect your information.
SMTP usually uses port 587 with TLS for sending emails. For receiving emails, IMAP over SSL uses port 993.
Always enable password authentication, which requires your email address as the username and your password. These security measures help keep your email safe from unauthorized access.
If there’s an option for STARTTLS, enable it to enhance security, ensuring your emails are transferred securely.
Incoming and Outgoing Server Settings
For setting up your Fuse.net email, it’s crucial to configure both incoming and outgoing server settings correctly. This ensures that you can both receive and send emails efficiently using your email client.
Inbound Server Settings
For receiving emails, you’ll use the POP or IMAP configuration. The server hostname is pop.fuse.net with a port number 110 for POP3. If you’re using IMAP, you might find hostnames like imap.fuse.net. These are the key details you’ll enter in your email client’s inbound server settings.
Make sure you use your email’s username, which is typically the part of your email address before the “@” symbol. Enter your password to authenticate your inbound server connection. Ensure the server type matches your provider.
Outbound Server Settings
The outgoing email requires SMTP settings to send messages. The SMTP server for Fuse.net is often smtp.fuse.net. Ports such as 587 are usually used, but this can vary slightly based on your email client configuration.
Again, input your email username and password to authenticate. These credentials secure your connection, making sure emails can be sent without interruption.
It’s also essential to enable any security protocols like TLS or SSL if prompted by your email client for added security.
Advanced Email Features
To enhance your email experience with fuse.net, it’s essential to explore advanced features. Prioritizing security and understanding mail routing options will help you manage emails more efficiently, ensuring both safety and reliability.
Configuring VIPRE for Enhanced Security
Integrating VIPRE into your email setup can significantly enhance security. Start by downloading and installing VIPRE on your device. Once installed, ensure it is updated to the latest version for maximum protection.
Set VIPRE to automatically scan incoming and outgoing emails. This will help detect and keep malicious attachments and phishing attempts at bay.
Enable real-time protection, which can be done through the settings menu. Regular scans should be scheduled to safeguard against new threats that might slip through.
Pro Tip: Customize your threat alerts. This helps you act swiftly if any suspicious activity is detected.
Additionally, keep a backup of essential emails separately, especially before a full scan. This setup not only protects your email but also ensures a smooth workflow without interruptions.
Understanding Mail Routing Options
Mail routing in altafiber email services lets you direct emails through specific servers.
Start by accessing your account settings and locating the mail routing section. Here, you can choose between POP3 and IMAP for incoming mail.
- POP3 downloads your emails to a single device. This is ideal if you check emails from one location.
- IMAP allows access from multiple devices. It syncs messages, ensuring that changes made on one device reflect on others.
For outgoing mail, customize the outgoing server settings using SMTP options like smtp.zoomtown.com or smtp.fuse.net. Specify port preferences using SSL or TLS protocols, balancing security needs with the desired level of encryption.
Key Insight: Adjust these settings according to your access needs and security preferences. Knowing which protocol suits your lifestyle ensures efficient mail handling and added safety.
Troubleshooting Common Issues
When you encounter problems with fuse.net email settings, common issues often relate to authentication errors and send/receive failures. Understanding these challenges can improve your email experience.
Common Authentication Problems
Authentication errors usually happen due to incorrect login credentials. Always double-check your email address and password. If you forgot your password, use the password recovery option to reset it.
Make sure that your email client supports SSL or STARTTLS for secure connections. For IMAP servers, use the correct port, usually 993 with SSL. For POP settings, the typical port is 995. Correct configuration ensures proper authentication.
Verify that your internet connection is stable. Authentication may fail if your connection drops.
Dealing With Send/Receive Errors
Send/receive errors can frustrate email users. Check your SMTP settings first.
The correct SMTP server for fuse.net is typically on port 587 using TLS or port 465 with SSL. Ensure these settings are right in your email client.
Network issues can also cause send/receive failures. If emails aren’t going through, try reconnecting to your network. Restarting your router might help.
Sometimes, server outages happen. Check online for any reported issues with the mail server. If there’s no outage, review your account for any limits or flags that might restrict sending or receiving messages.
Checking Service Availability
Determining if Fuse.net email services are available in your area is important for setting up a new account or ensuring connectivity. This process involves verifying your location and the specific address details to see if service is provided in your area.
Service Availability by Address
To check service availability, you will need to provide your street address, apartment or unit number, if applicable. Visit the official service provider’s website and look for a section where you can enter these details.
Inputting your address accurately, including your apt/unit number, is crucial. Some services may not recognize your address without this detail.
Once entered, the system will confirm availability for Fuse.net services. If service is unavailable, you might explore alternative providers.
Frequently Asked Questions
This section addresses common questions about setting up and managing your fuse.net email. You’ll find information on configuring email on various devices and troubleshooting tips.
How to configure fuse.net email on an iPhone?
To set up fuse.net email on an iPhone, go to “Settings.” Then, select “Mail,” followed by “Accounts.” After that, choose “Add Account.” Enter your fuse.net email address and password. Then, select “IMAP.” After that, enter the server settings: imap.fuse.net for incoming and smtp.fuse.net for outgoing mail.
What are the correct settings for setting up fuse.net email on an Android device?
On Android, open your email app and choose “Add Account.” Enter your fuse.net email and password. Then, choose “Manual Setup.” After that, select “IMAP” or “POP3” as the account type. Use imap.fuse.net or pop.fuse.net for incoming and smtp.fuse.net for outgoing server settings.
Where can I find Cincinnati Bell fuse.net email settings?
You can find the necessary server settings through Cincinnati Bell’s customer support page or by contacting their help center directly. They provide details on the specific server names and port numbers for both incoming and outgoing mail.
What steps should I follow to troubleshoot fuse.net email issues?
If you face issues with your fuse.net email, first check your internet connection. Then, verify your email settings match those provided by Cincinnati Bell. After that, consider updating your email app to the latest version. Restarting your device or reinstalling the email account can also help resolve issues.
How do I update my fuse.net email settings?
To update your email settings, access your email account settings in your app or device. Ensure your incoming and outgoing server details are correct. If changes are needed, update the server names and port numbers as specified by Cincinnati Bell, then save the changes.
What are the server settings required for fuse.net email?
For fuse.net email, you’ll require specific server settings. Use imap.fuse.net for the IMAP incoming server or pop.fuse.net for POP3. For outgoing, use smtp.fuse.net. Make sure to configure the correct ports and SSL settings as recommended by your service provider.